VirtualBox version 7.0 / ArcaOS version 5.1
VirtualBox 7 officially supports ArcaOS guests. The following directions apply to VirtualBox 7.0 on a Linux host, though Windows and Mac OSX hosts configure similarly.
As with all hypervisors which are to support OS/2 guests, the host system must support Intel VT-x or AMD-V hardware virtualization. Check the host system’s BIOS setup options and manufacturer documentation to be sure this is available.
Notes:
- The screenshots here were taken under VirtualBox 7.0.10 for Linux.
- On other host systems (Mac or Windows, for example), the layout of some screens may differ from these images, but the terminology should be consistent.
- As of VirtualBox 6.1.32 there is the ArcaOS IBM OS/2 subtype, but the configuration still requires refinement for optimal use, and we are working with the VirtualBox team to improve the defaults.
- It is highly recommended to configure the ArcaOS guest for only one virtual CPU, even when the host has multiple cores and/or physical CPUs. Enabling more than one virtual CPU for an ArcaOS guest under any VirtualBox version may lead to one or more strange happenings, e.g., overall slow performance, CPU hogging (either in the guest or in the host or both), erratic behavior (mouse movement, odd pauses during file and/or network transfers, etc.), or even complete lockups of the guest. DATA LOSS IS POSSIBLE.
- Some older versions of VirtualBox 7 have been reported to have problems so make sure you have the latest build. As of November 2023 (version 7.0.12): Interrupt reporting in the ICH9 chipset emulation does not work correctly, so devices which do not use MSI, such as the network controller may not work. Use the PIIX3 chipset instead. The PIIX3 chipset emulation does not support MSI so you may not be able to use NVME or XHCI. The IDE storage emulation is the highest performance option, higher than both the AHCI emulation and the NVME emulation.
- Running in a VM with EFI enabled is not recommended, and may have functional and performance problems.
VM configuration
The following assumes the use of the Oracle VM VirtualBox Manager GUI.
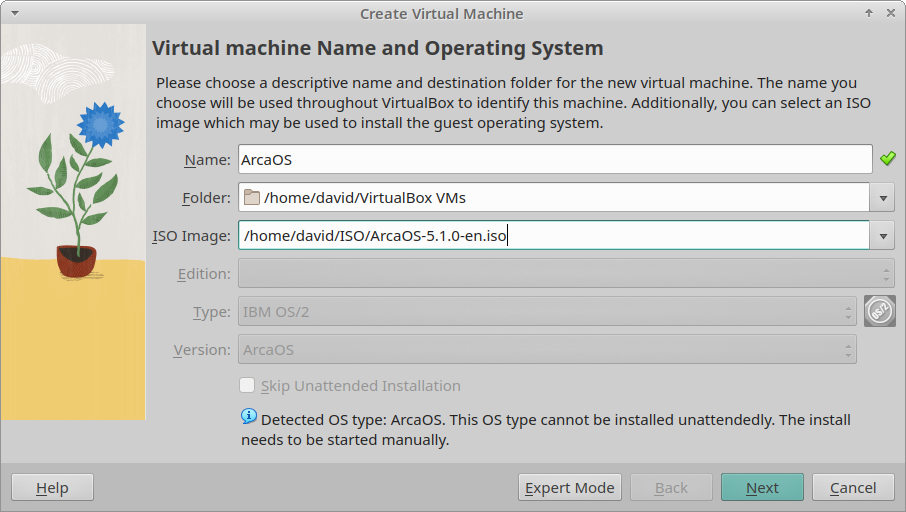
- Create a new VM. Select IBM OS/2 as Machine Type, and ArcaOS as the Version.
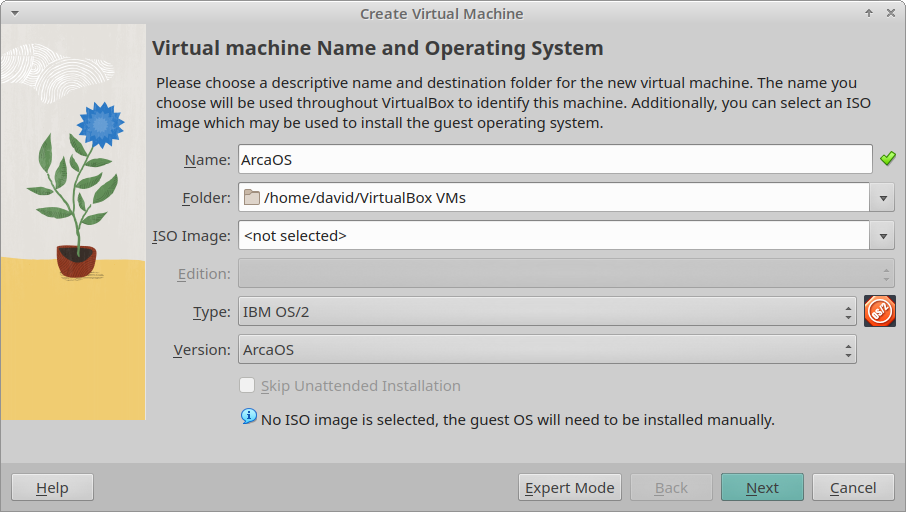
If you select an ArcaOS ISO image at this time, VirtualBox will automatically select the correct Type and Version.
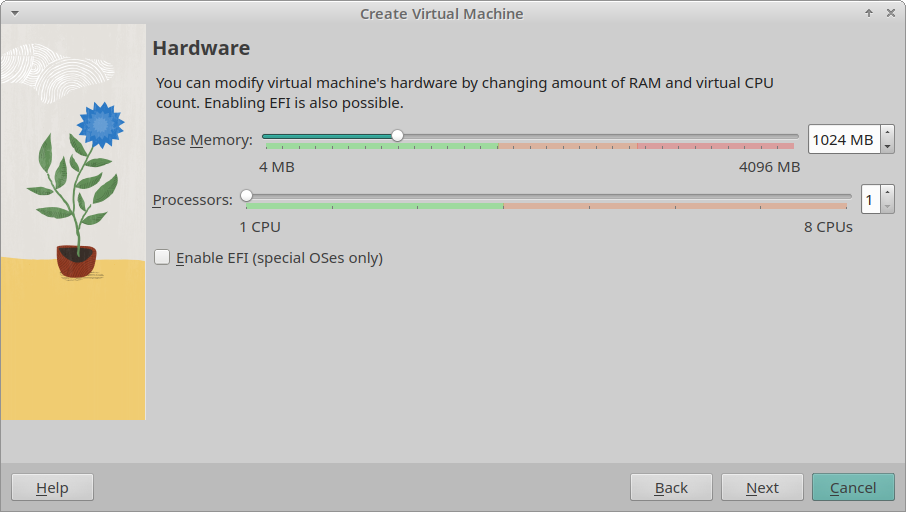
- Set Memory size to 1024MB (minimum recommended: 512MB), and the Processors to 1 CPU. Make sure Enable EFI is not checked.
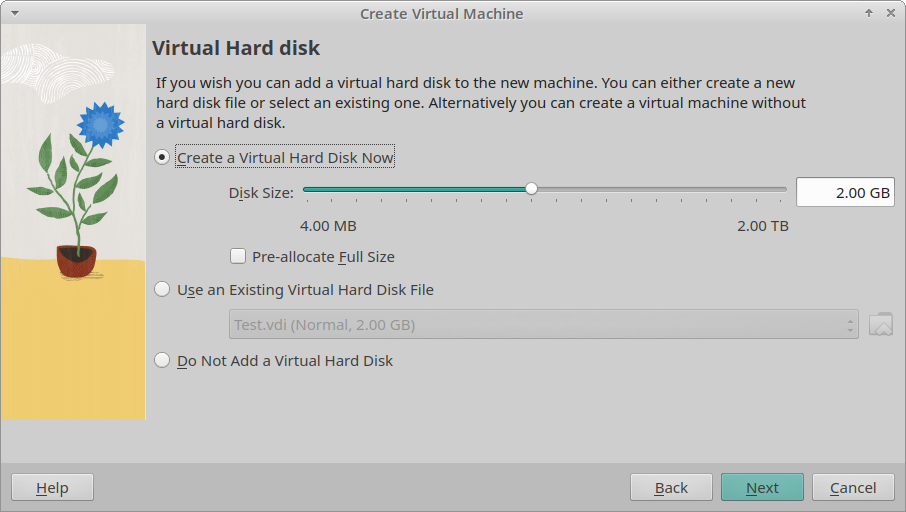
- Configure a virtual hard disk of at least 2GB. Additional virtual disks may always be added later.
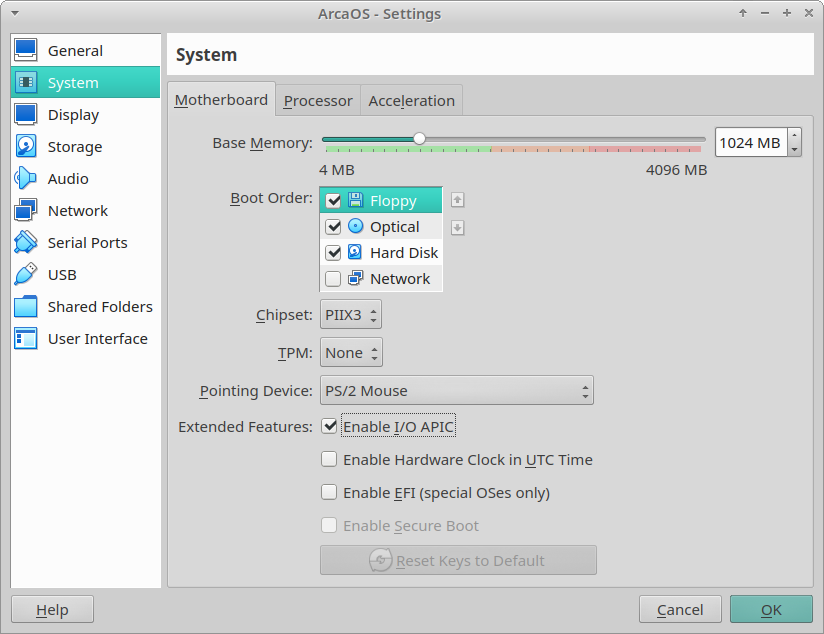
- Once the VM has been added to the list in the VirtualBox GUI, select Settings, and then System. On the Motherboard tab, ensure that Enable I/O APIC is selected. The Chipset may be left at PIIX3. Make sure the Enable EFI checkbox is not checked.
On the Processor tab, it is highly recommended to select only one virtual CPU (see note above). This recommendation holds no matter the VirtualBox version or the actual number of cores and/or physical CPUs in the host system.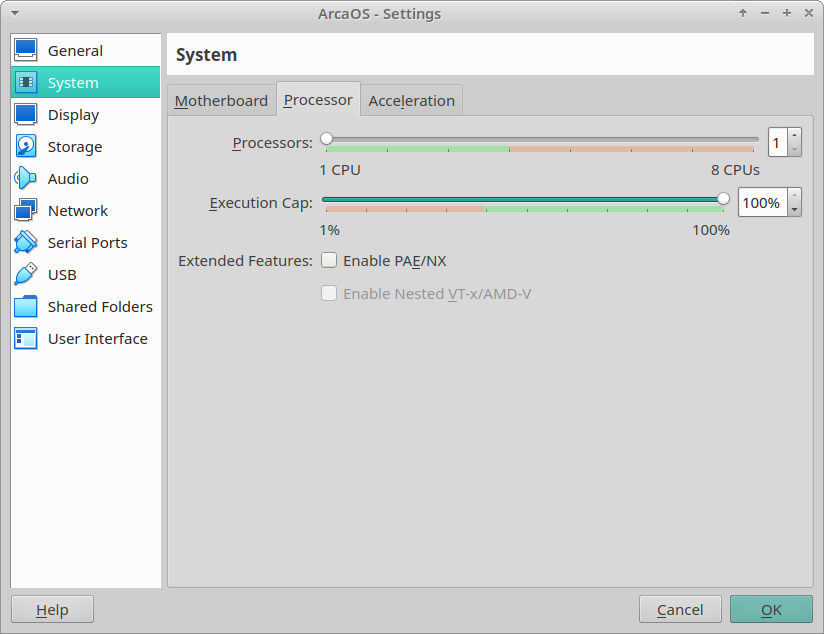
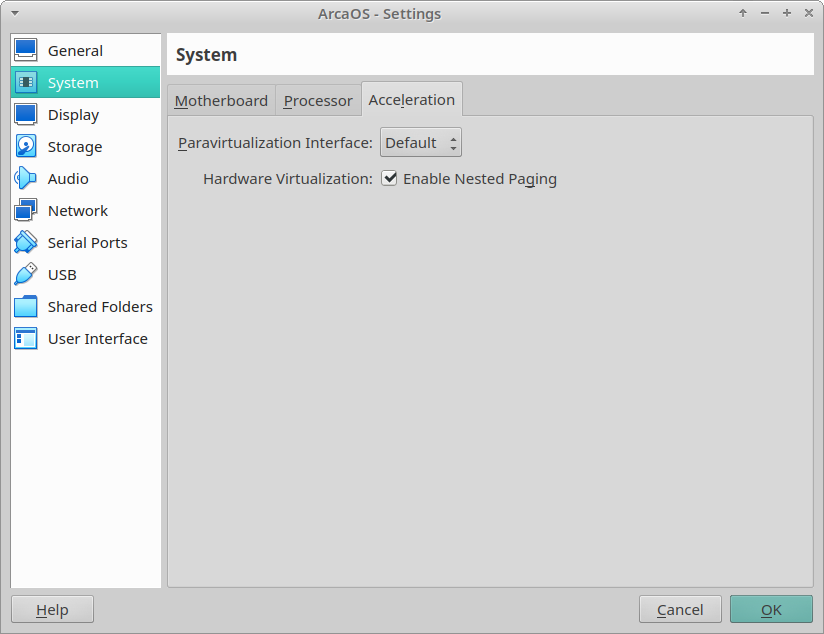
On the Acceleration tab, leave the settings at the defaults as shown.
- Select Display, and set the video memory as desired. Usually, the default is sufficient. This value may always be adjusted after the VM has been created. Do not enable 2D or 3D acceleration, as these will likely provide no performance improvement.

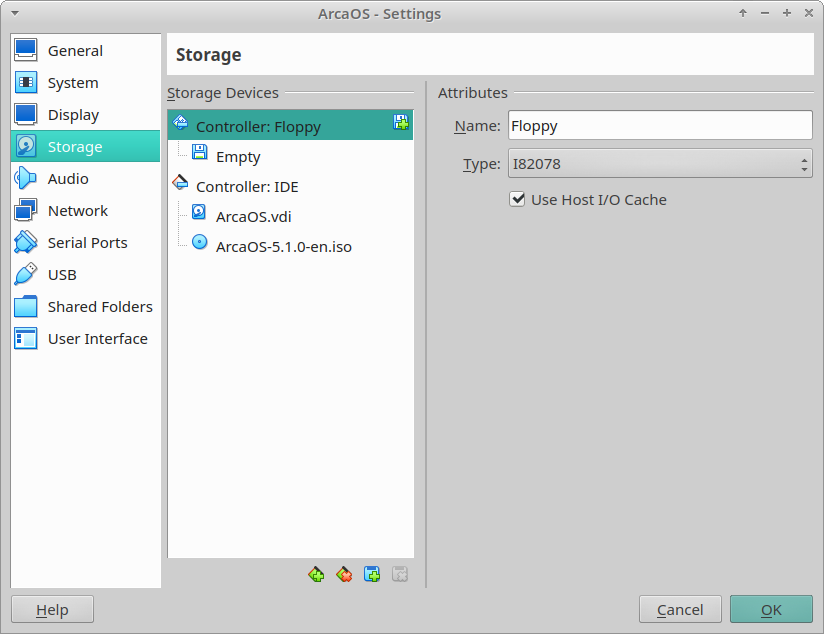
- In Storage, the defaults are fine. Add additional controllers and disks as necessary. The IDE controller is the fastest emulation. Other devices such as AHCI will work also but the emulation is slower.
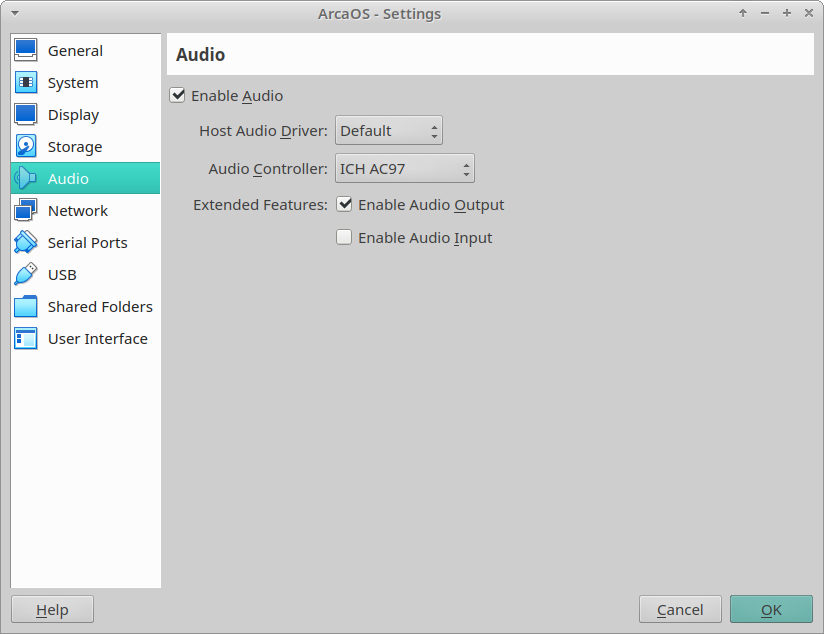
- In Audio, the defaults are fine as shown.
- Select Network, and verify that the settings are as shown. On the Adapter 1 tab, ensure that Enable Network Adapter is checked and click Advanced. Ensure that the Adapter Type is a supported type. The default Intel PRO/1000 MT Desktop is fine. Set the attachment (Attached to) as desired (see the VirtualBox documentation for more information regarding attachment types). Generally, NAT or Bridged Adapter are sufficient. Ensure that Promiscuous Mode is left at the default of Deny, or network performance will likely be negatively impacted.

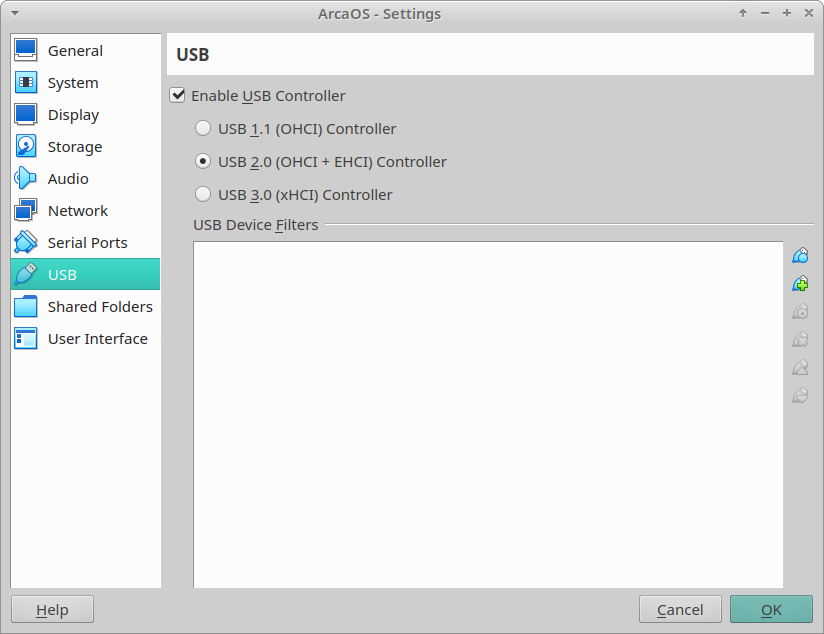
- Select USB, and verify that a USB controller is enabled. Add USB device filters as desired (see VirtualBox documentation for how to utilize USB device filters). A good starting point is to just add an empty filter (upper USB device filter button), which will match any connected device.
- Click OK to return to the VirtualBox Manager. It is now time to start the VM and install ArcaOS. (Reminder: No guest additions are available during the installation process. This means that in order to release the guest control of the mouse and keyboard, it is necessary to press the Host key, usually <Right-Ctrl>.)
ArcaOS Installation
- At the DVD boot menu, select the option to boot with default values.
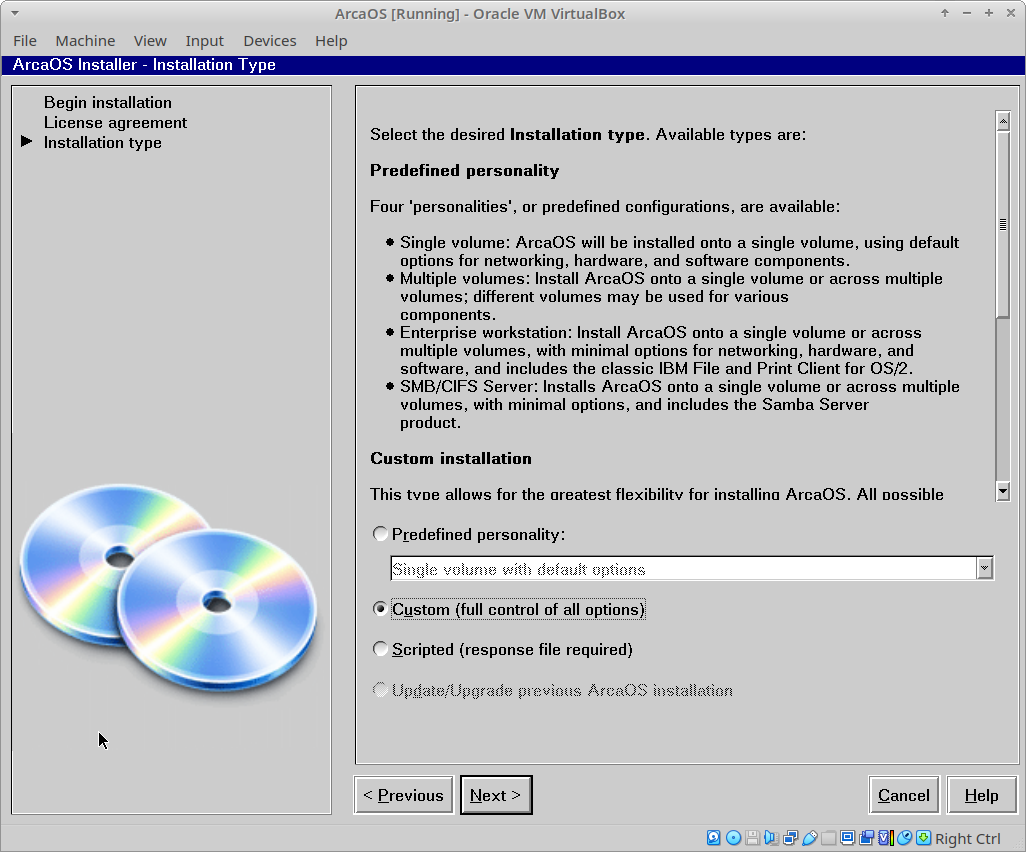
- Once the Installer starts, proceed to the Installation type page and select either a Predefined personality or a Custom installation. Here, we’ve selected the latter. Click Next to continue to the Target volume(s) page.
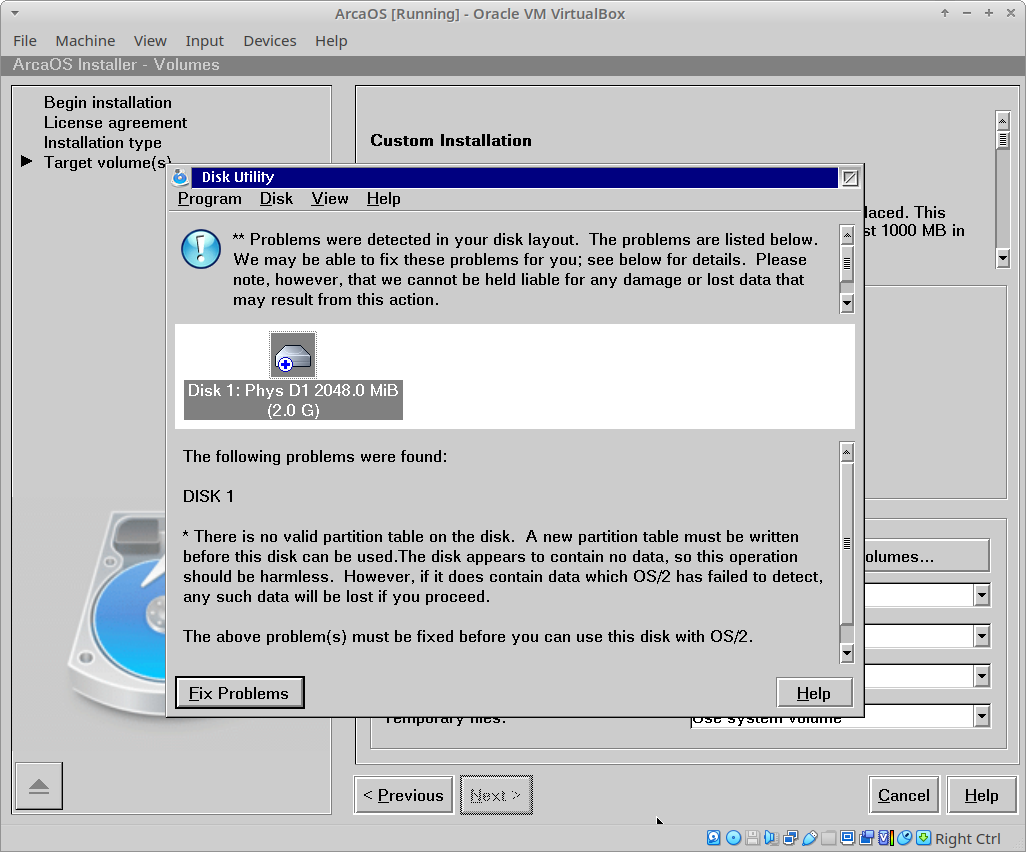
- At the Target volume(s) page, the Disk Utility will run, and determine that there is no partition table on the disk. Click Fix Problems, and follow the prompts to reboot the VM. Choose Create MBR Layout. Use Host+Ins (or Host to release the keyboard and mouse, then from the VM window’s menu, Input | Keyboard > Insert Ctrl-Alt-Del) to reboot when prompted. Restart the installation and return to this page.
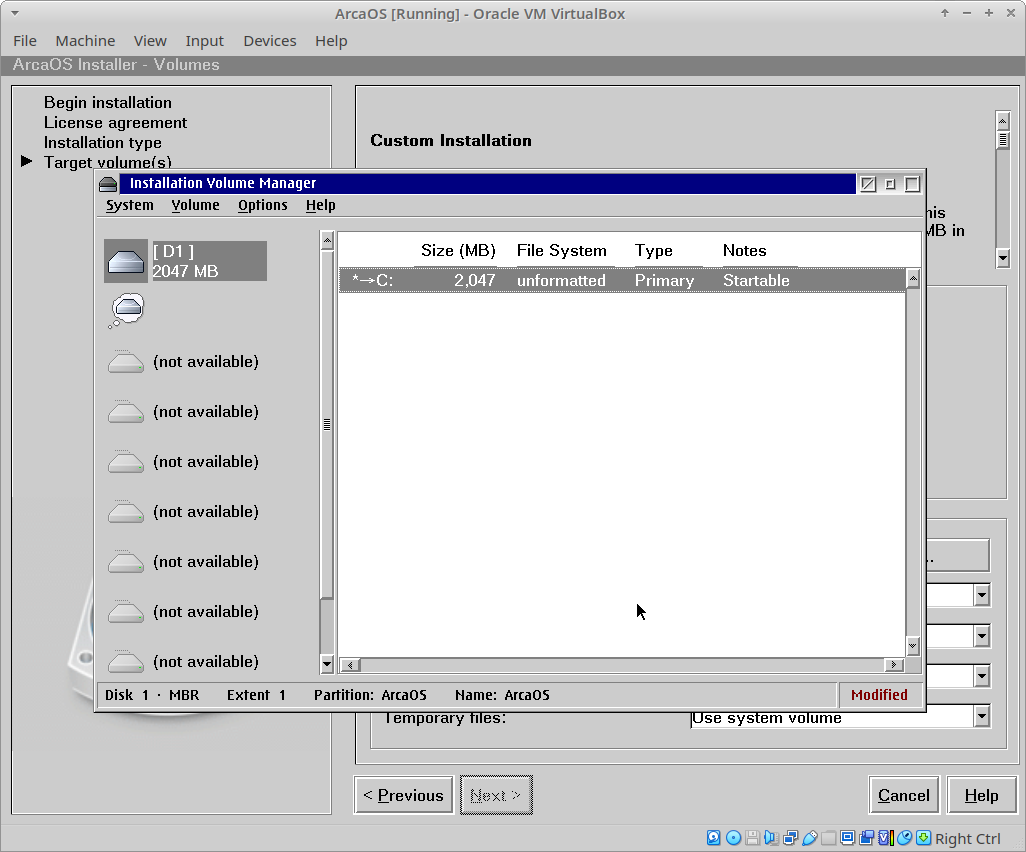
- Note the empty System Volume dropdown. Click Manage Volumes… to start the Installation Volume Manager to create a bootable volume. Do not use other tools (lvm, lvmgui, dfsee, etc.).
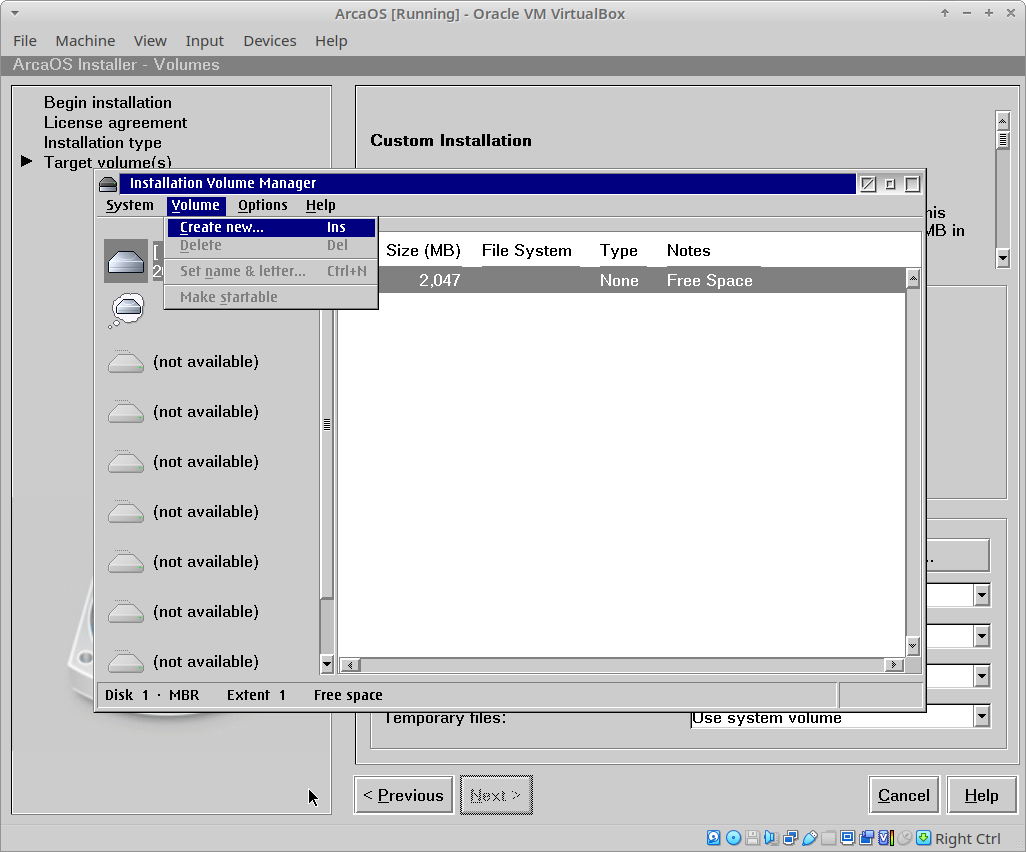
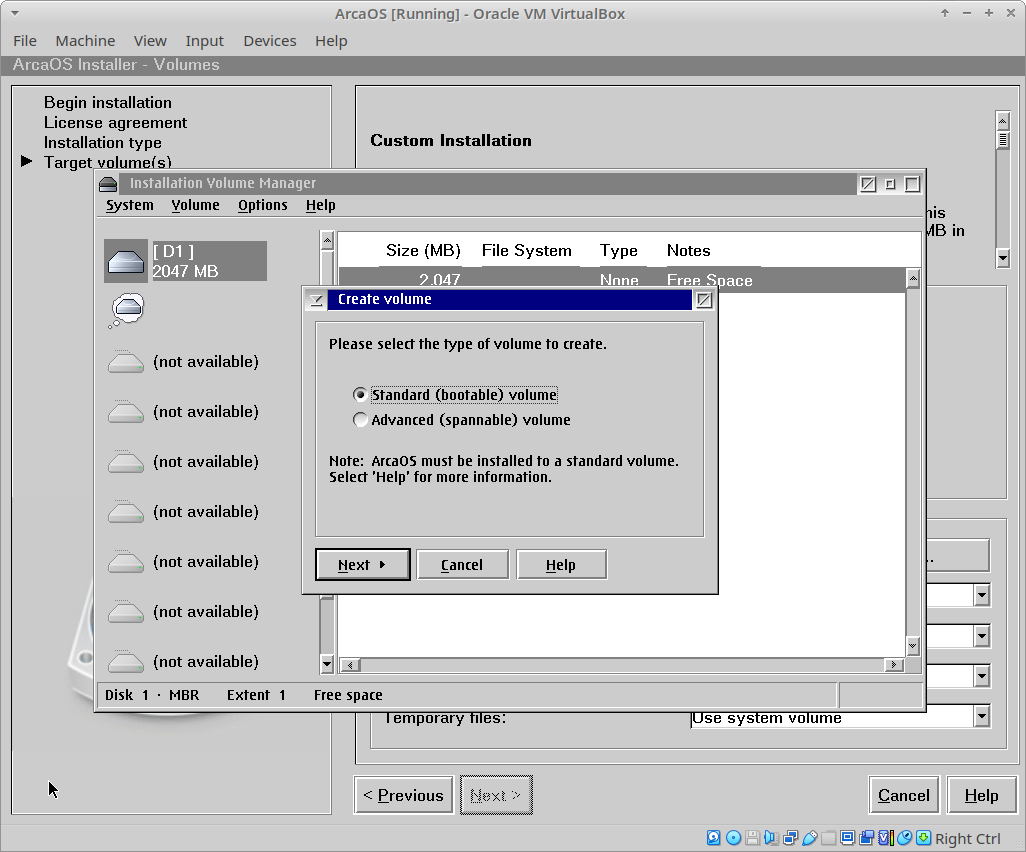
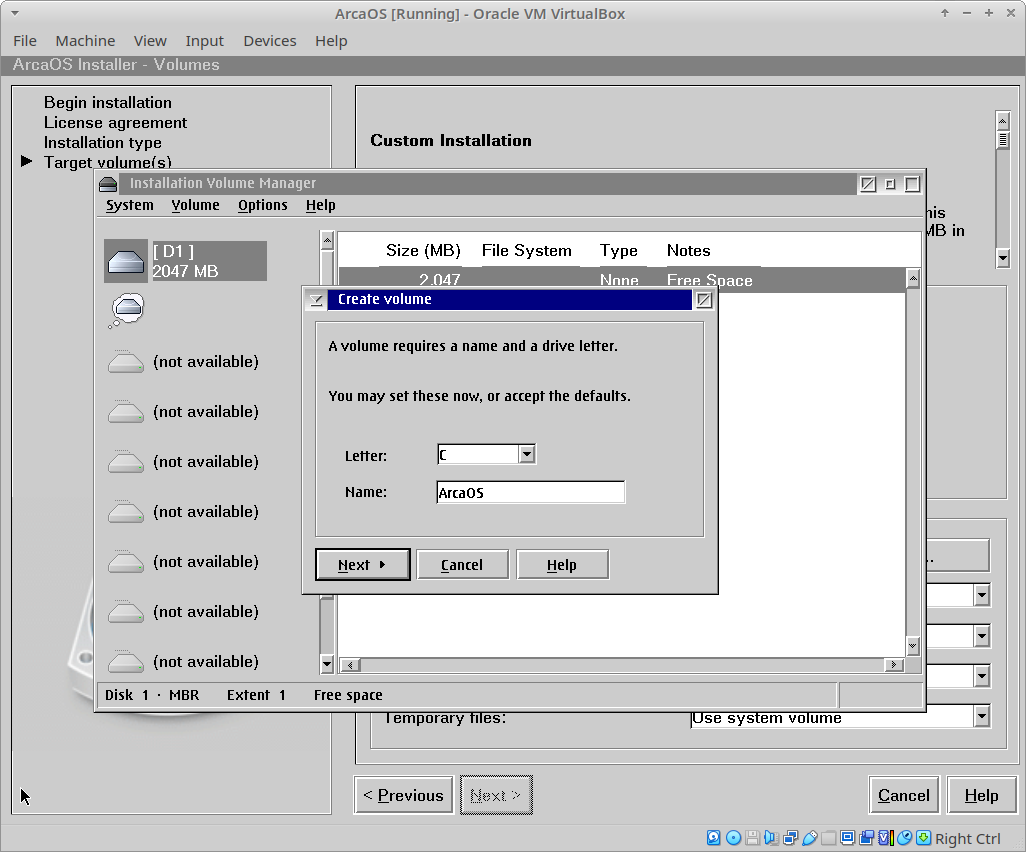
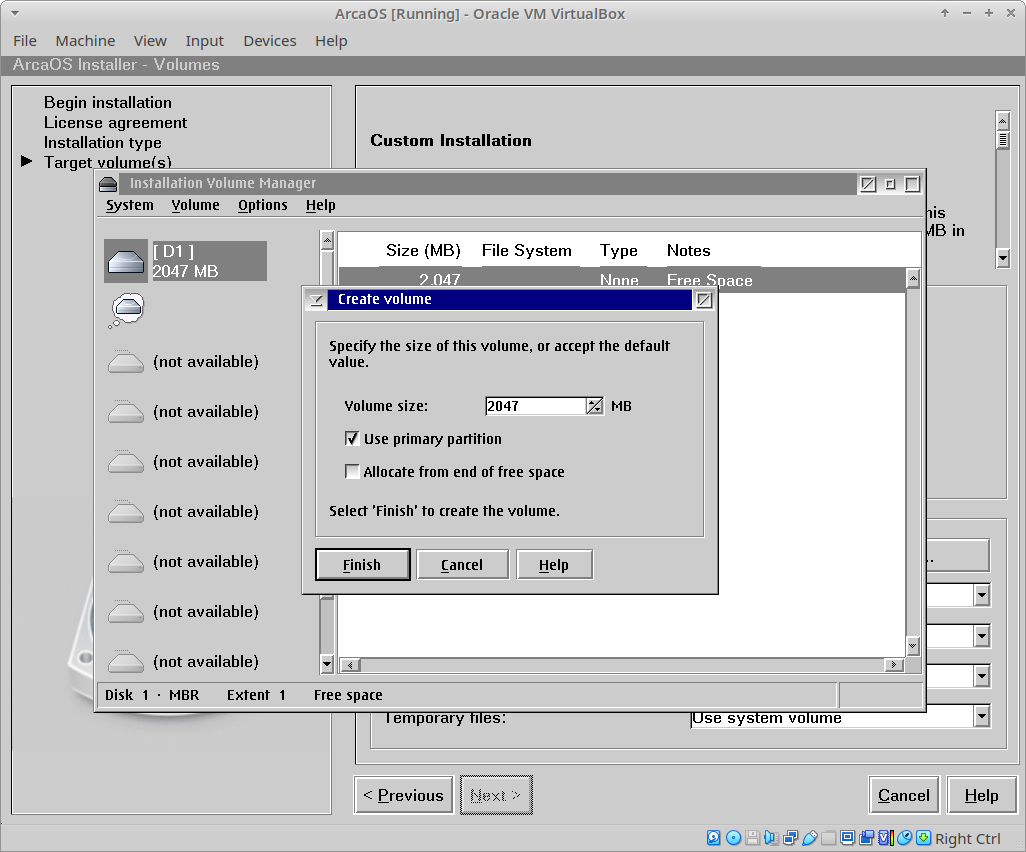
- For the purposes of this example, we will create a single bootable volume, assign drive letter C:, name it, and use all the available space in a primary partition. When done, close the Installation Volume Manager and save your changes.
- Leave all ancillary volumes set to Use system volume, and click Next to set the locale and timezone on the Location page. Note that if the guest additions are to be installed, you may leave Enable internet time synchronization unchecked here, as the additions will allow the guest’s clock to be set by the host.

- Click Next to proceed through the next few pages until you get to the Ready to install page. Verify your selections and click Next to begin the installation.
Leave the Reboot automatically checkbox set, and allow the installer to complete Phase 1, count down, and reboot into Phase 2. Allow Phase 2 to boot from the newly-formatted hard disk, and continue copying files. Again, leave the Reboot automatically checkbox set, and allow Phase 2 to complete and reboot into Phase 3.
Phase 3 presents the finished ArcaOS desktop. Once the process completes, configure the video resolution and/or color depth from the Screen object in the System Setup folder. Note that the ArcaOS VM must be rebooted in order to apply the new resolution and/or color depth.
Your base ArcaOS installation is now complete. For next steps, see Post-install Tips & Hints.
This entry last updated: by