VMWare Workstation version 17.5 / ArcaOS version 5.1
VMware does not officially support ArcaOS under VMware, so we use the Other option. Some modification to the hardware settings is needed, as will be discussed. A key to success is the proper configuration of the IDE devices, specifically, the virtual hard disk as master on IDE controller 0 and the virtual CD/DVD as master (or slave) on IDE controller 1. In addition, it should be noted that the default (and only) virtualized audio adapter (Ensoniq) under VMware is not compatible with any driver shipped with ArcaOS. At the time of this writing, we have no workaround for this problem.
VM configuration
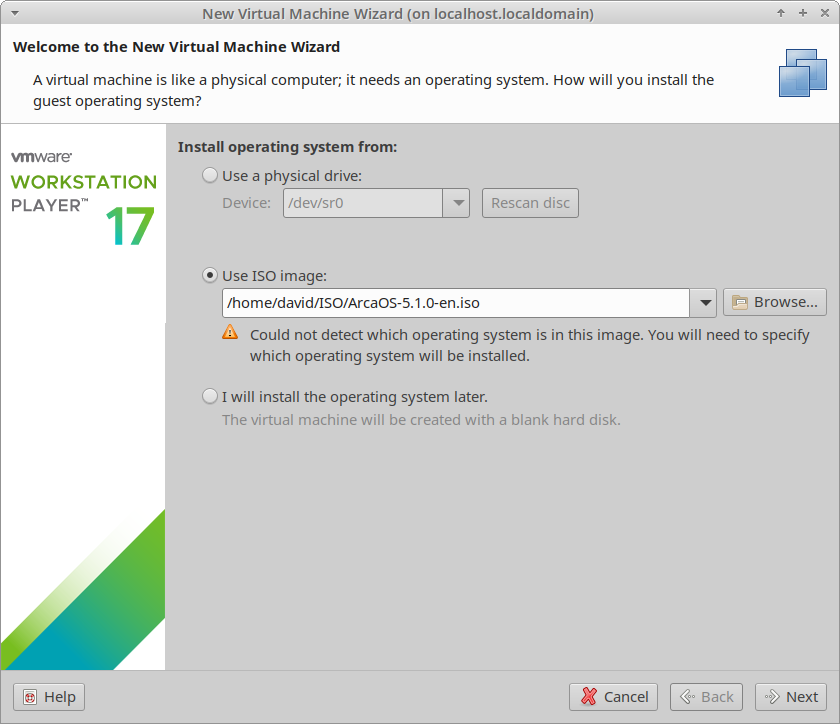
- From the Home page, select Create a New Virtual Machine.
- Select Use ISO image, and select the ArcaOS ISO that will be installed in the new VM. Then click Next.
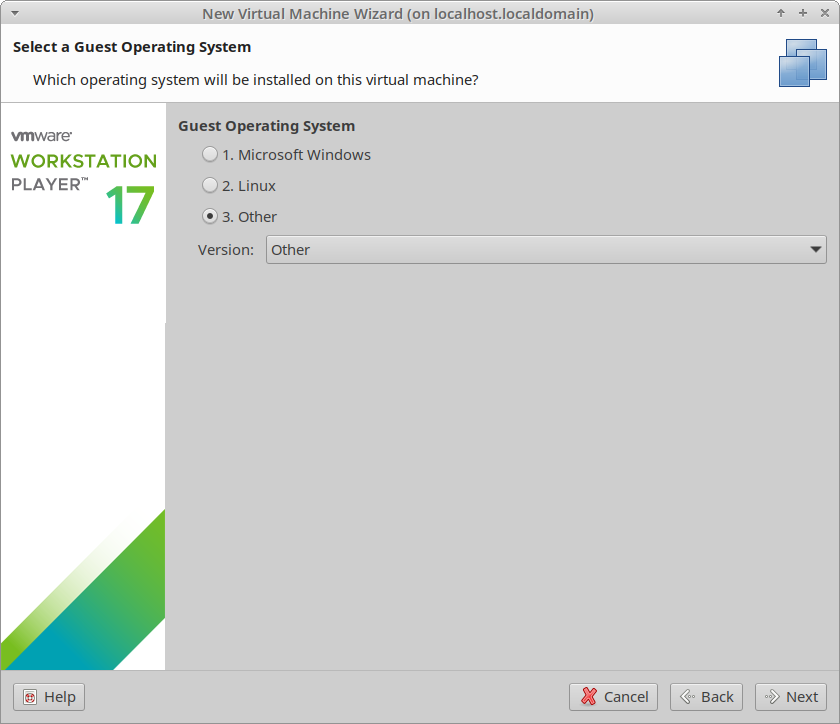
- Specify the Guest Operating System. For ArcaOS choose 3. Other, and for the version choose Other. These are the defaults. Then click Next.
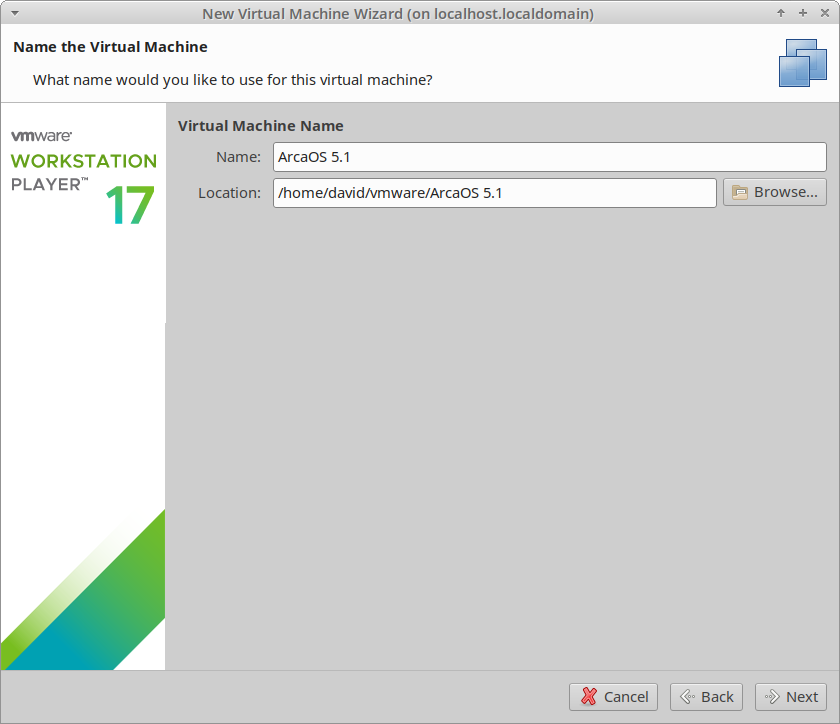
- Choose a name for your new VM. In the example we used ArcaOS 5.1. Then click Next.
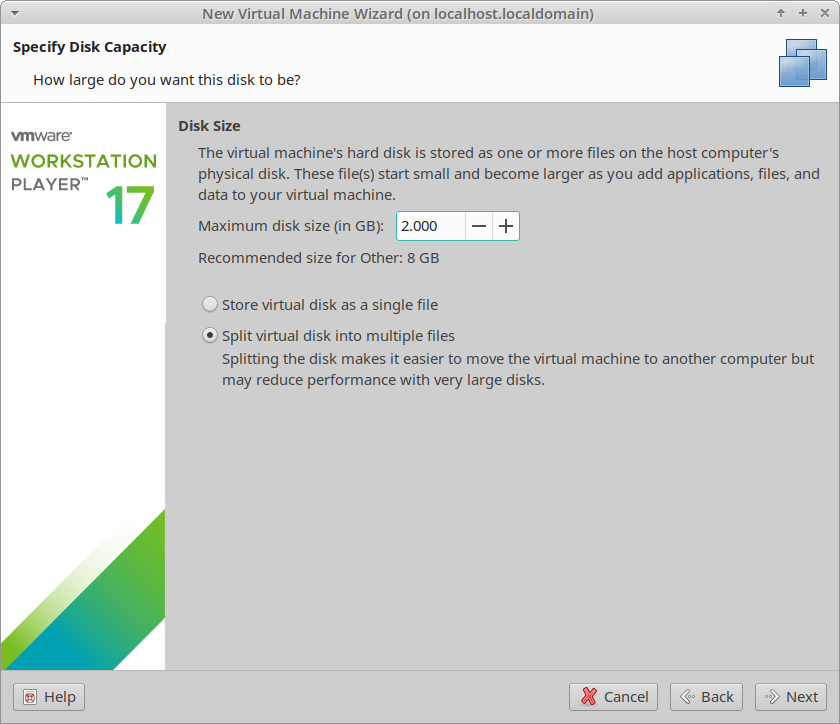
- Choose a disk size 2GB or larger. You may choose to store the disk a a single or multiple files. Either is fine. The default is to split the virtual disk into multiple files. Then click Next.
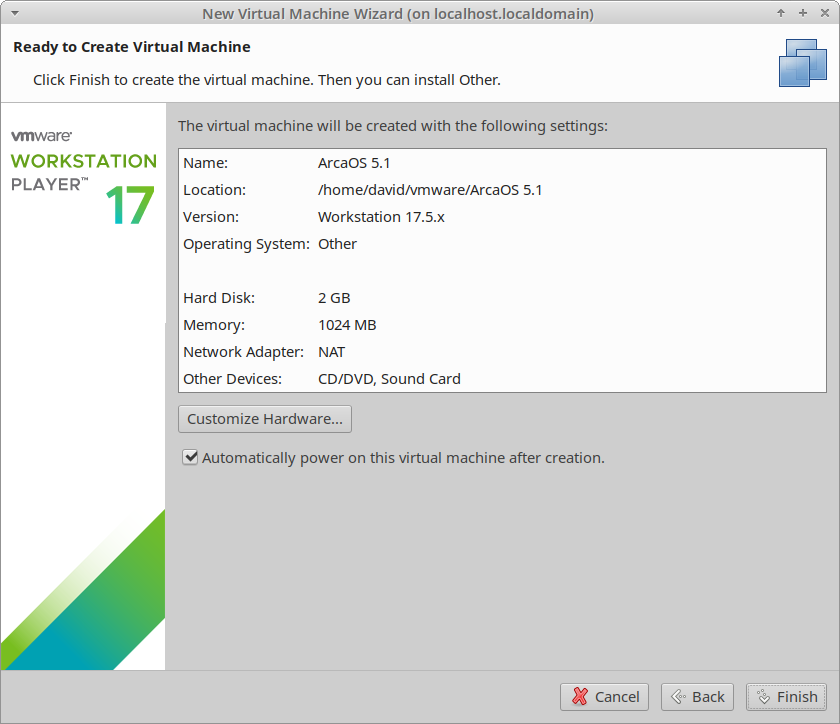
- On the Ready to Create Virtual Machine page, choose Customize Hardware…

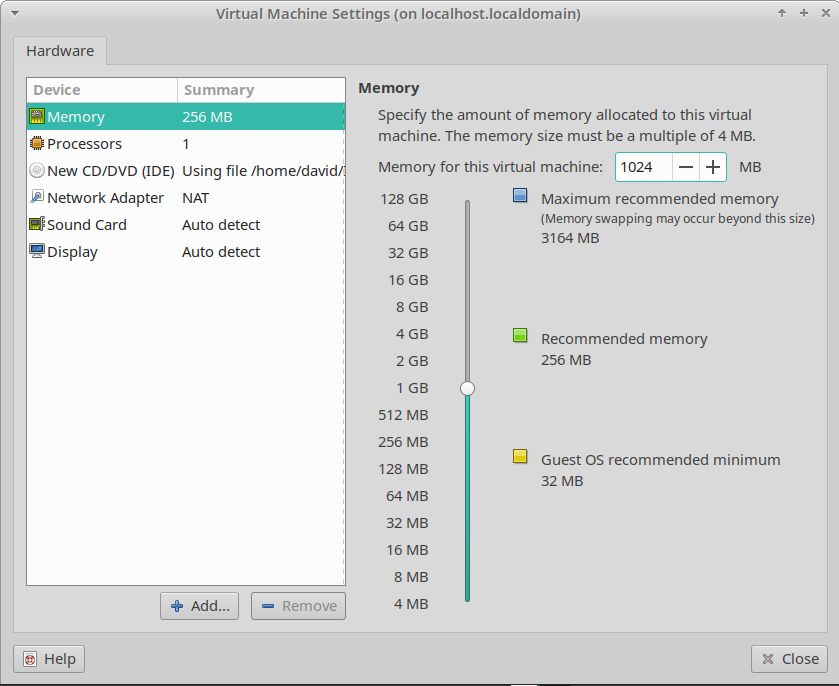
- Set Memory to minimum 256MB (512MB is preferred; 1024MB is recommended).
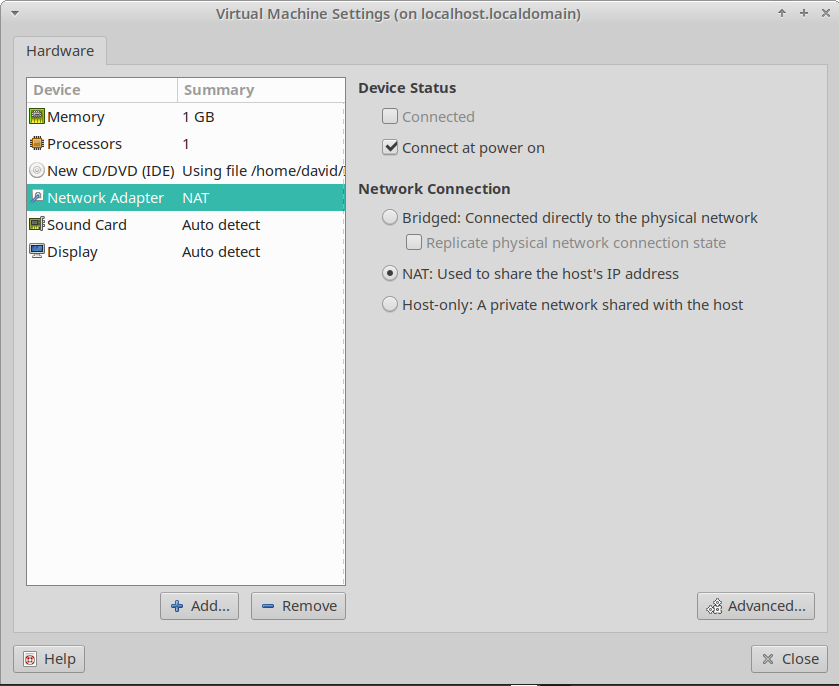
- For the network, choose NAT or Bridged depending on your network requirements. When finished click Close.
- The hard disk you specified before will be in the VM summary. Check your settings. Click Finish to proceed.
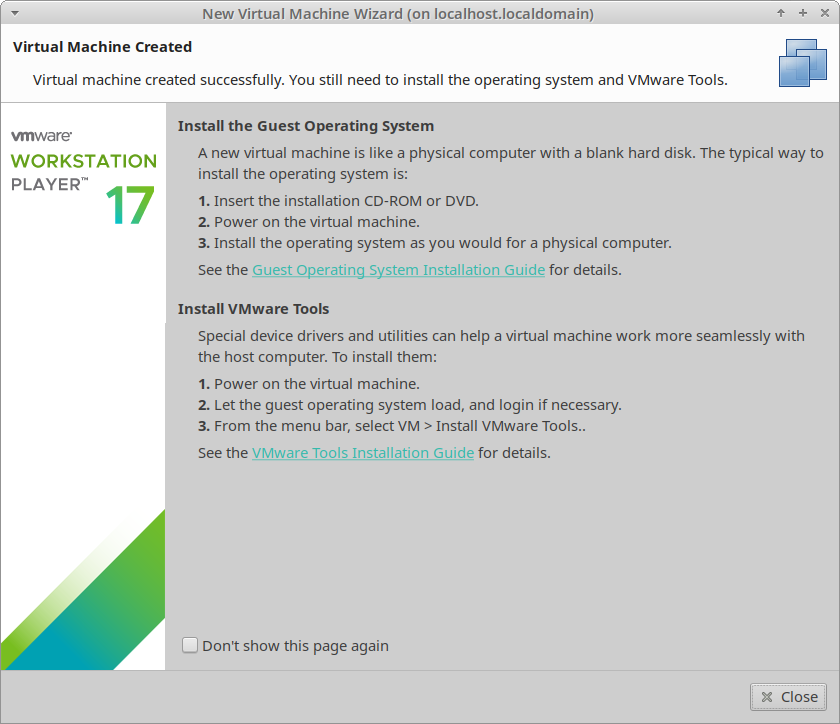
- Some instructions will be displayed. Click Close and the VM will start and boot the ArcaOS installer ISO.
ArcaOS Installation
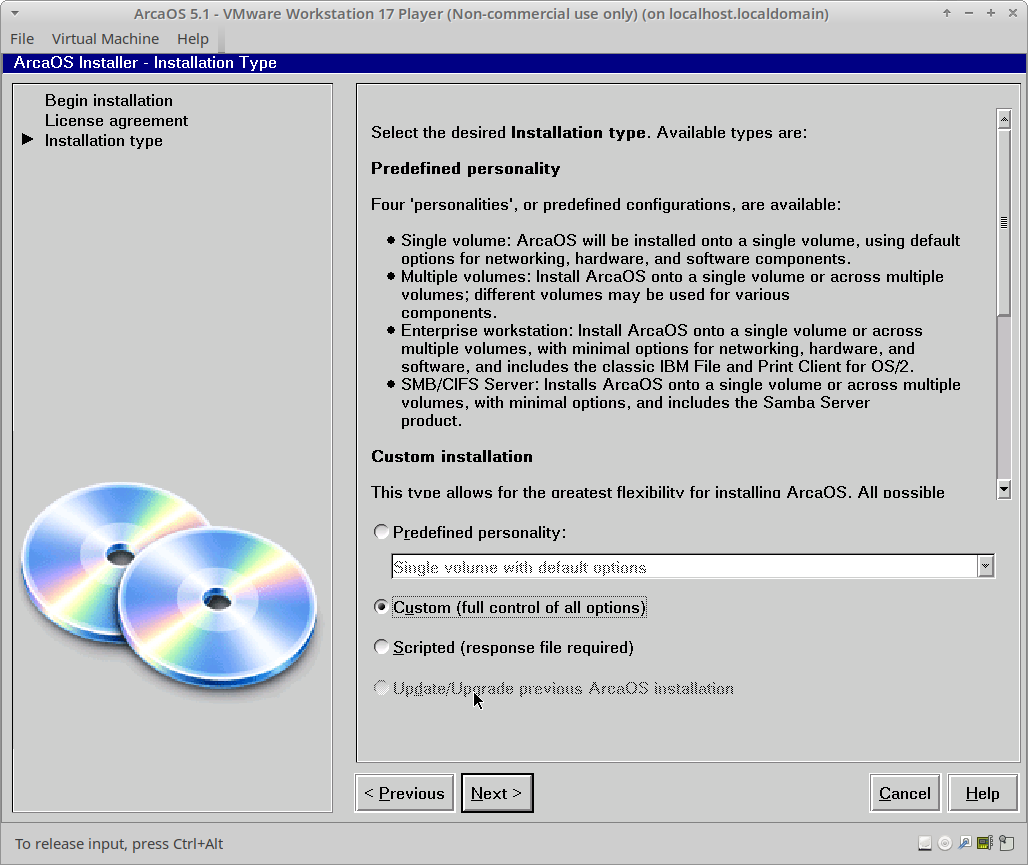
- Start the VM, and select the option to boot with default values, which are fine for this environment. Proceed to the Installation type page and select either a Predefined personality or a Custom installation. Here, we’ve selected the latter. Click Next to continue to the Target volume(s) page.
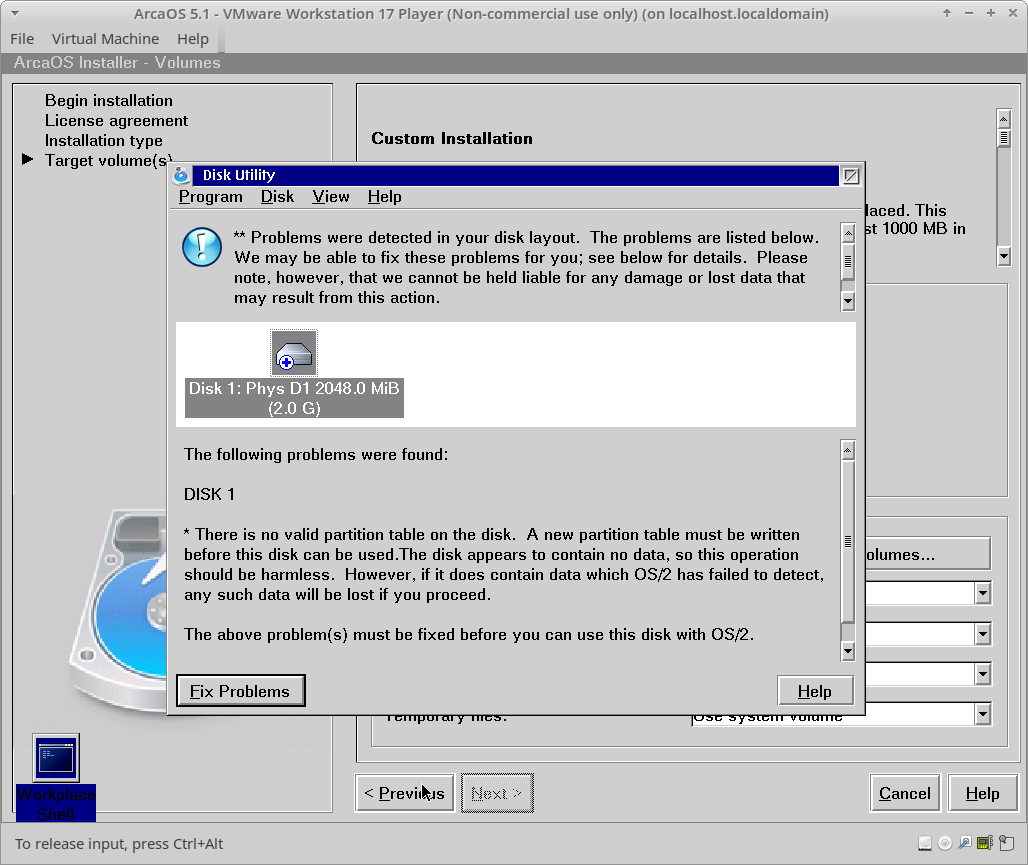
- At the Target volume(s) page, the Disk Utility will run, and determine that there is no partition table on the disk. Click Fix Problems, and choose Create MBR Layout and click OK. Follow the prompts to reboot the VM. Use Ctrl-Alt-Ins to reboot when prompted. Restart the installation exactly as before, and return to this page.
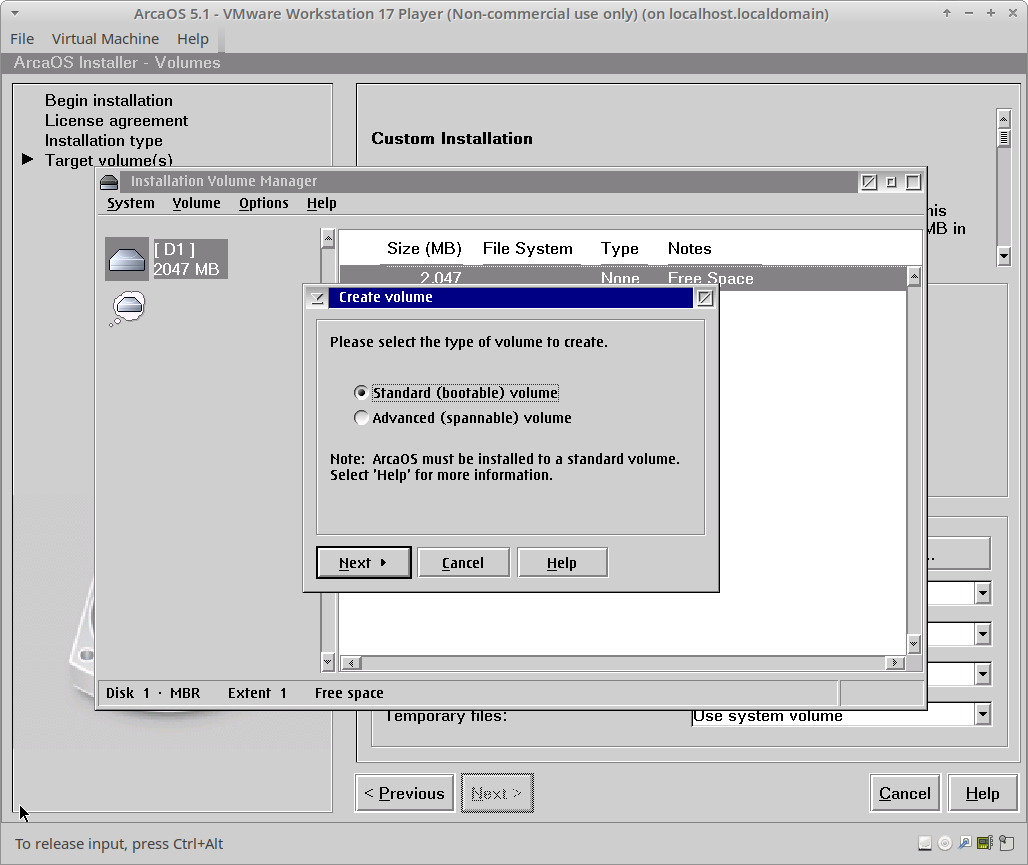
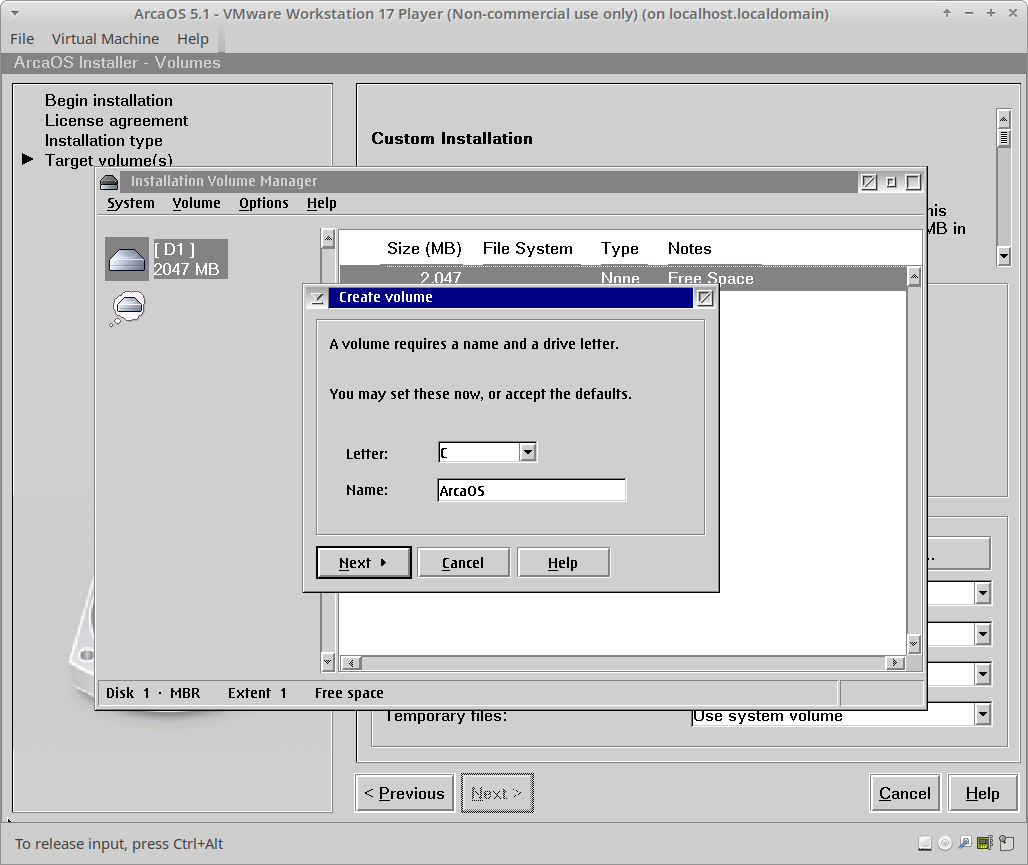
- Note the empty System Volume dropdown. Click Manage Volumes… to start the Installation Volume Manager to create a bootable volume.

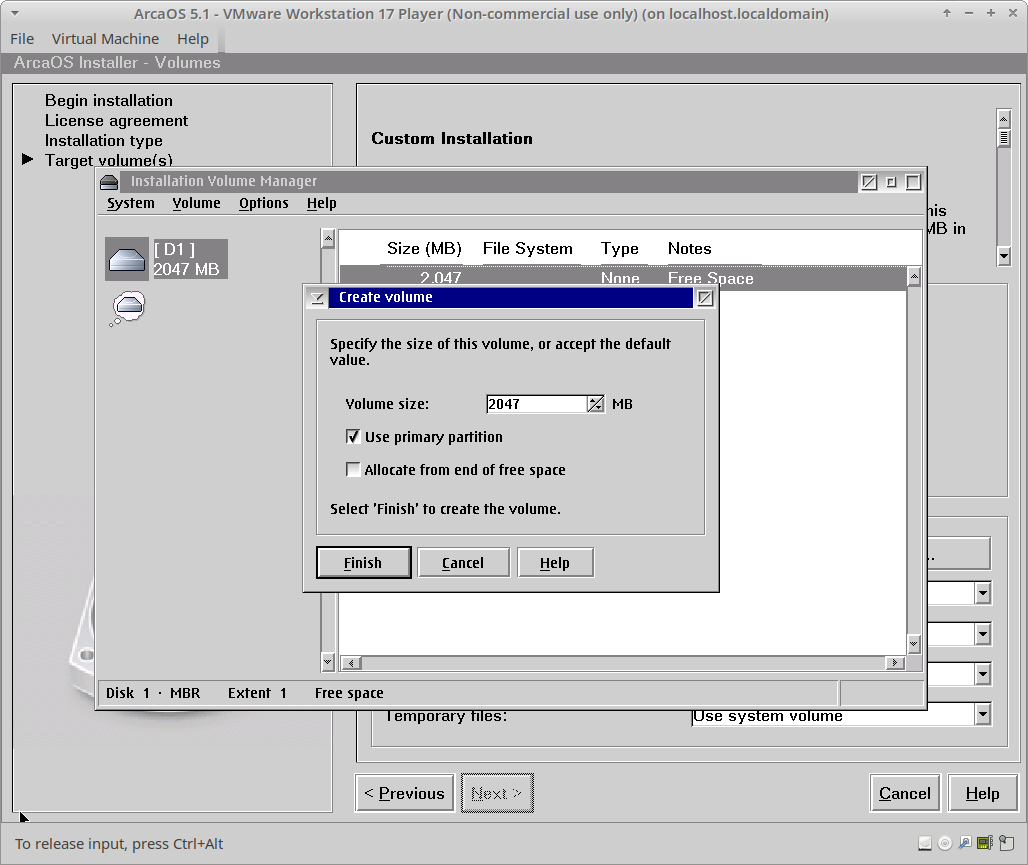
- For the purposes of this example, we will create a single bootable volume, assign drive letter C:, name it, and use all the available space in a primary partition. When done, close the Installation Volume Manager and save your changes.
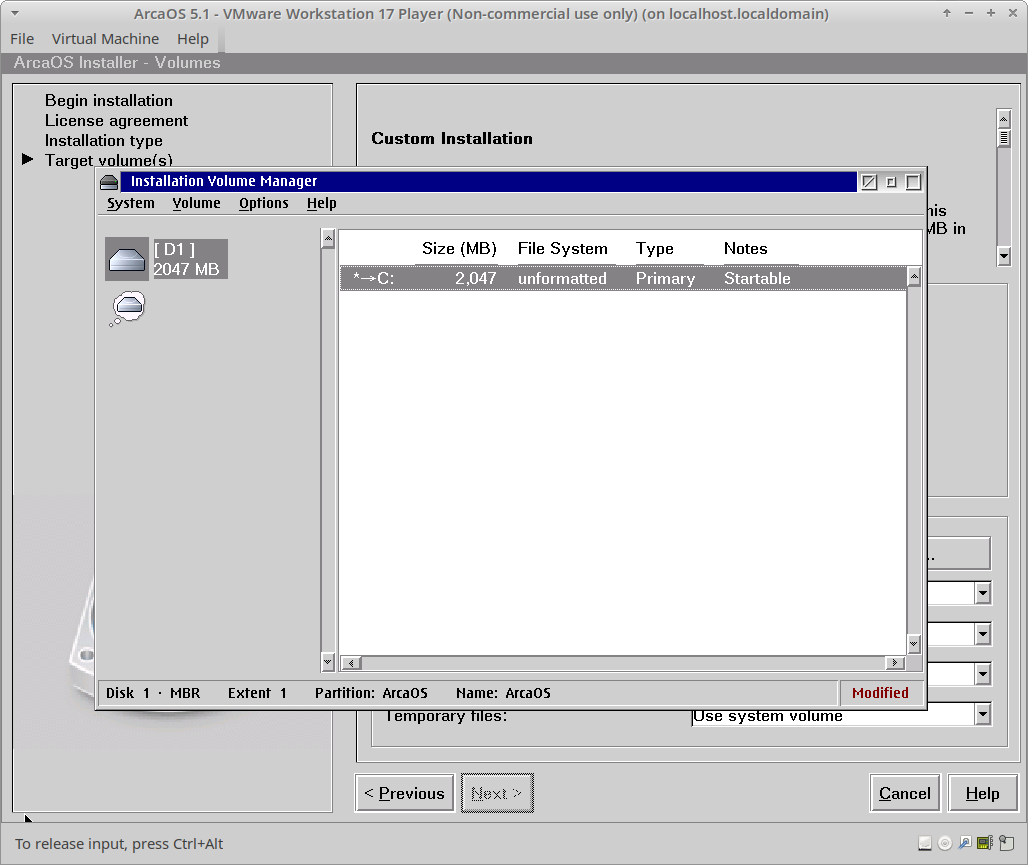
- Leave all ancillary volumes set to Use system volume, and click Next to proceed all the way to the Confirmation page to review your settings. Click Next to begin the installation.
Leave the Reboot automatically checkbox set, and allow the installer to complete Phase 1, count down, and reboot into Phase 2. Allow Phase 2 to boot from the newly-formatted hard disk, and continue copying files. Again, leave the Reboot automatically checkbox set, and allow Phase 2 to complete and reboot into Phase 3.
Phase 3 presents the finished ArcaOS desktop. Once the process completes, access the Clock Synchronization object in the System Setup folder to configure time synchronization. Configure the video resolution and/or color depth from the Screen object in the System Setup folder. Note that the ArcaOS VM must be rebooted in order to apply the new resolution and/or color depth.
Your base ArcaOS installation is now complete. For next steps, see Post-install Tips & Hints.
Note that most configuration options available to bare metal installs are also available here, such as multiple hard disks, multi-volume layouts, static IP vs dynamic, and even multiple network adapters (if so configured for the VM). Avoid multiple CPUs, SCSI, and do not chain a virtual CD/DVD drive on the same IDE controller as a virtual hard disk. The Uniaud drivers can be commented out in the config.sys to prevent boot delays and error messages until a compatible device or driver becomes available.
This entry last updated: by